
20 Best Online Retrospective Games (Fun Guaranteed!)
Ever heard of this: retro fatigue? In hundreds of interviews we've conducted with Scrum Masters, Agile Coaches and other practitioners, retro fatigue was
Facilitation Guide
If you want to conduct your first retro, here you will find out everything you need to know – from preparation to implementation and moderation.
In the first step of creating your team, you can choose a team name and enter the email addresses of the team membersEmail-Adressen der Teammitglieder. If you want to add new team members later, this is easily possible in the settings.
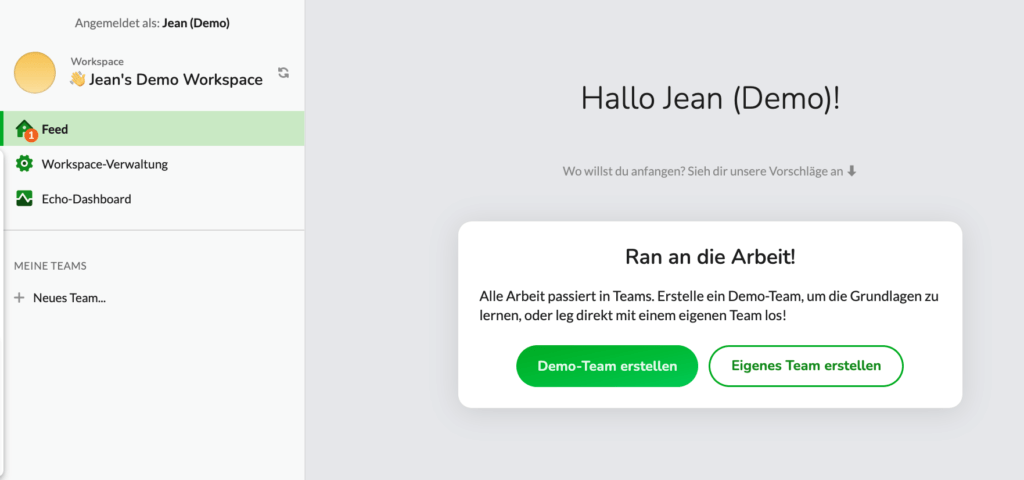
Tip: To become familiar with the functionalities, create your own demo team to start with via the "Feed". You can archive the demo team later in the team settings.
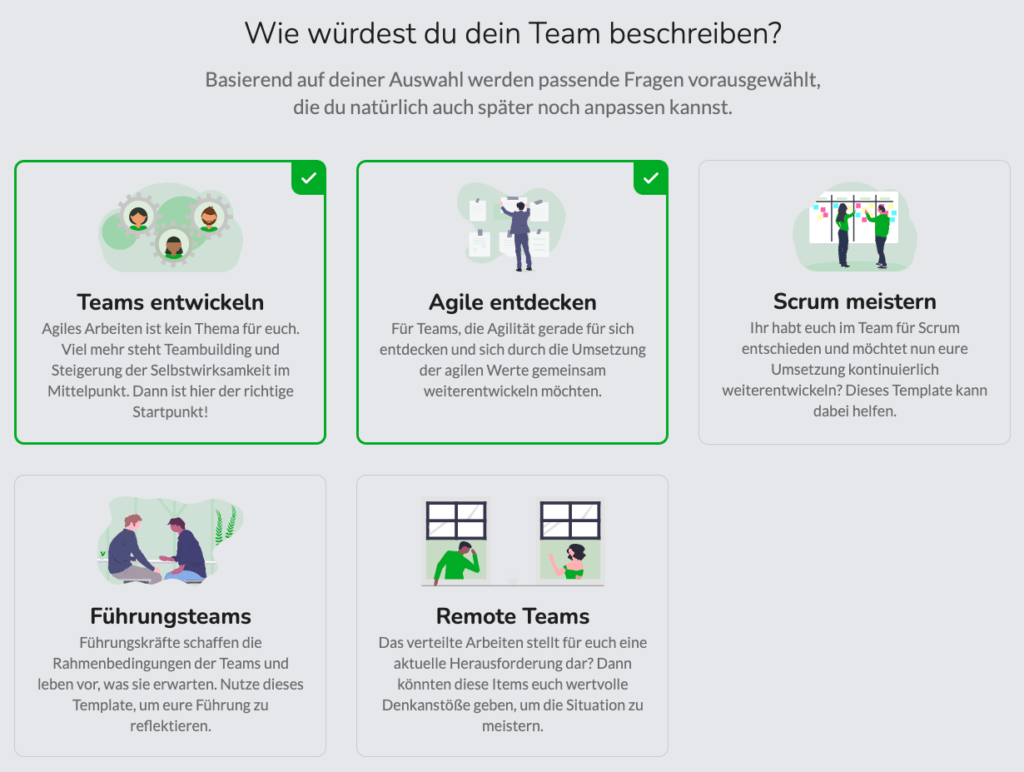
Then you can optionally select a template for your team health check. These are based on the preferred thematic focus and maturity level of the team. The templates make a pre-selection from the item pool. You can adapt this pre-selection at any time.
If you do not want to use a template, you can skip this step by clicking the Next button.
In the last step, you can select the planned interval for your team retrospectives. This way, as a moderator ("team admin"), you will receive a reminder email when it is time to prepare the next retrospective.
The preparation time for your first retro depends on how customized you want to make the themes. We recommend that you take about 20 minutes the first time so that you can get familiar with the tool. about 20 minutes so that you can familiarize yourself with the tool.
The preparation of the retro starts with sending out a survey to the team. The feedback from the survey is the basis for the retro.
The survey in Echometer allows you to gather feedback in two ways: to get feedback in two ways:
Retro Surveys
In preparation for the next retro, you have the possibility to send out a survey in advance.
Via the team page > „Next Retro". You can prepare the survey individually under the item „Gather Data". When creating your survey, you have the possibility to choose from different question types, the so-called "items".
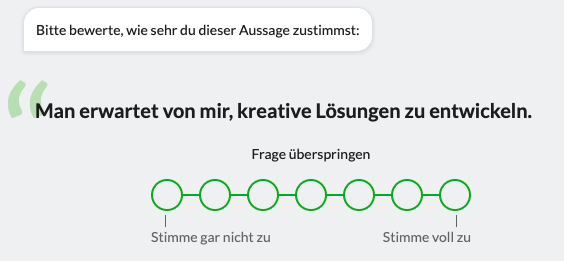
Scale items: Team members give their agreement, from „Completely disagree" to „Agree completely".
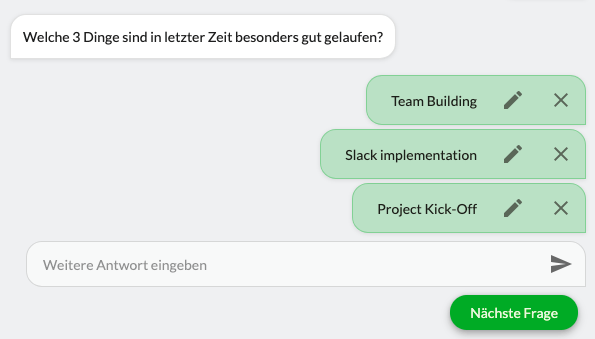
The Team-Items are based on the selected team templates. You can see this rotation in the team item pool and customize it as you wish.
Health Check item rotation
To make it easy for you, we have built in a rotation logic for the scale items. This way you will automatically have new items in every retro without having to do it yourself every time.
The rotation is only a suggestion. You can adjust, remove or add to the suggested items as you wish before each retro. To change the rotation logic, for example to set a different thematic focus, go to "Team Health" > "Edit Rotation".
Team survey (independent of retrospectives)
Team surveys can also be independent of a retrospective. To prepare such a survey, go to "Surveys" > "Create Survey" in your team.
If you then decide to include the results in a retro, you are perfectly free to do so. Survey results can be linked to one retro at a time.
Start surveys
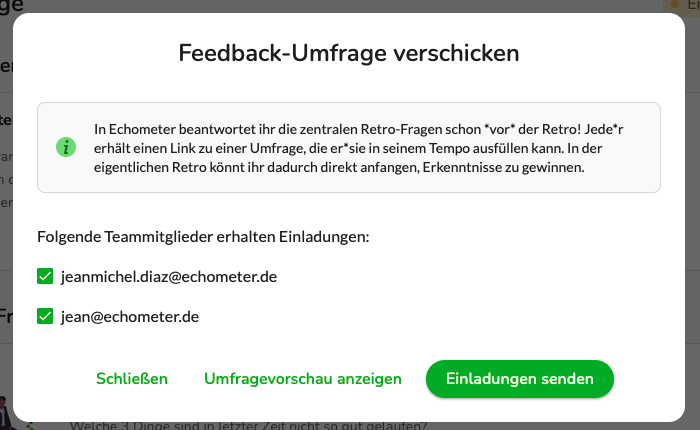
Clicking on "Collect feedback via Survey" for retro surveys or "Continue" for free-standing surveys opens the "Send out Feedback Survey" dialogue.
Here you can select/deselect individual team members as you wish. Once you have sent the survey, it can no longer be edited.
The team members automatically receive the survey by email and can then answer it anonymously. As long as the survey is running, they can still edit their answers afterwards.
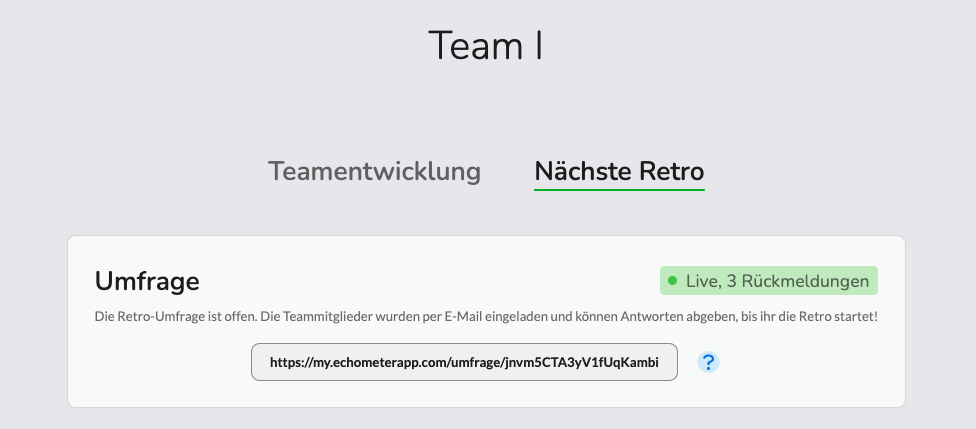
Survey link & number of responses
Each team member can see the number of responses submitted so far on the team page.
Here you will also find a link to the current survey - this can be used if a team member has not received the invitation or has deleted it. As soon as you view the results or start the retro, no more feedback can be submitted or edited.
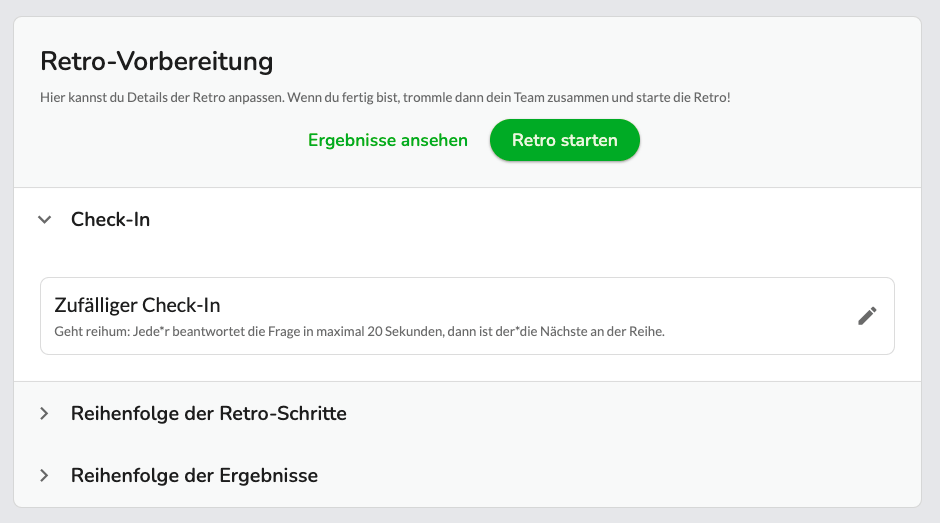
Already during the preparation of your next Retro you have the possibility to create whiteboards and link them to the Retro.
Check-In Whiteboard
For the Check-In you can either use a randomly generated whiteboard, select a predefined question from our Check-In question pool or create a Check-In question yourself.
To edit the Check-In, go to your team page and click on "Next Retro" and then "Check-In". You can also use an extra whiteboard for the check-in. We have summarized the best retro check-in formats for you in our blog article.
Retro Whiteboard
If you like to use whiteboards, you always have the possibility to spontaneously access our ready-made whiteboard templates during the Retro. You can find them in the upper right corner during Retro. If you would like to prepare your own whiteboard, simply do so during Retro preparation under "Whiteboards". You will also find this template in the upper right corner.
On the team page you can have a look at the results and start the retro. When you start the retro, all team members automatically receive an invitation to participate by email and can join the retro (even without registering in advance).
Attention: Once you have started your retro, it is no longer possible to submit or edit feedback via the survey.
The following instructions will guide you through the retro step by step and include tips on how to conduct it. A retro usually takes 45 to 90 minutes, depending on the number of topics. More information about the duration of a retro can be found in our blog. Duration of a retro you can find in our blog.
You are now on the Welcome screen of the retro. There are several things you can see and set up here.
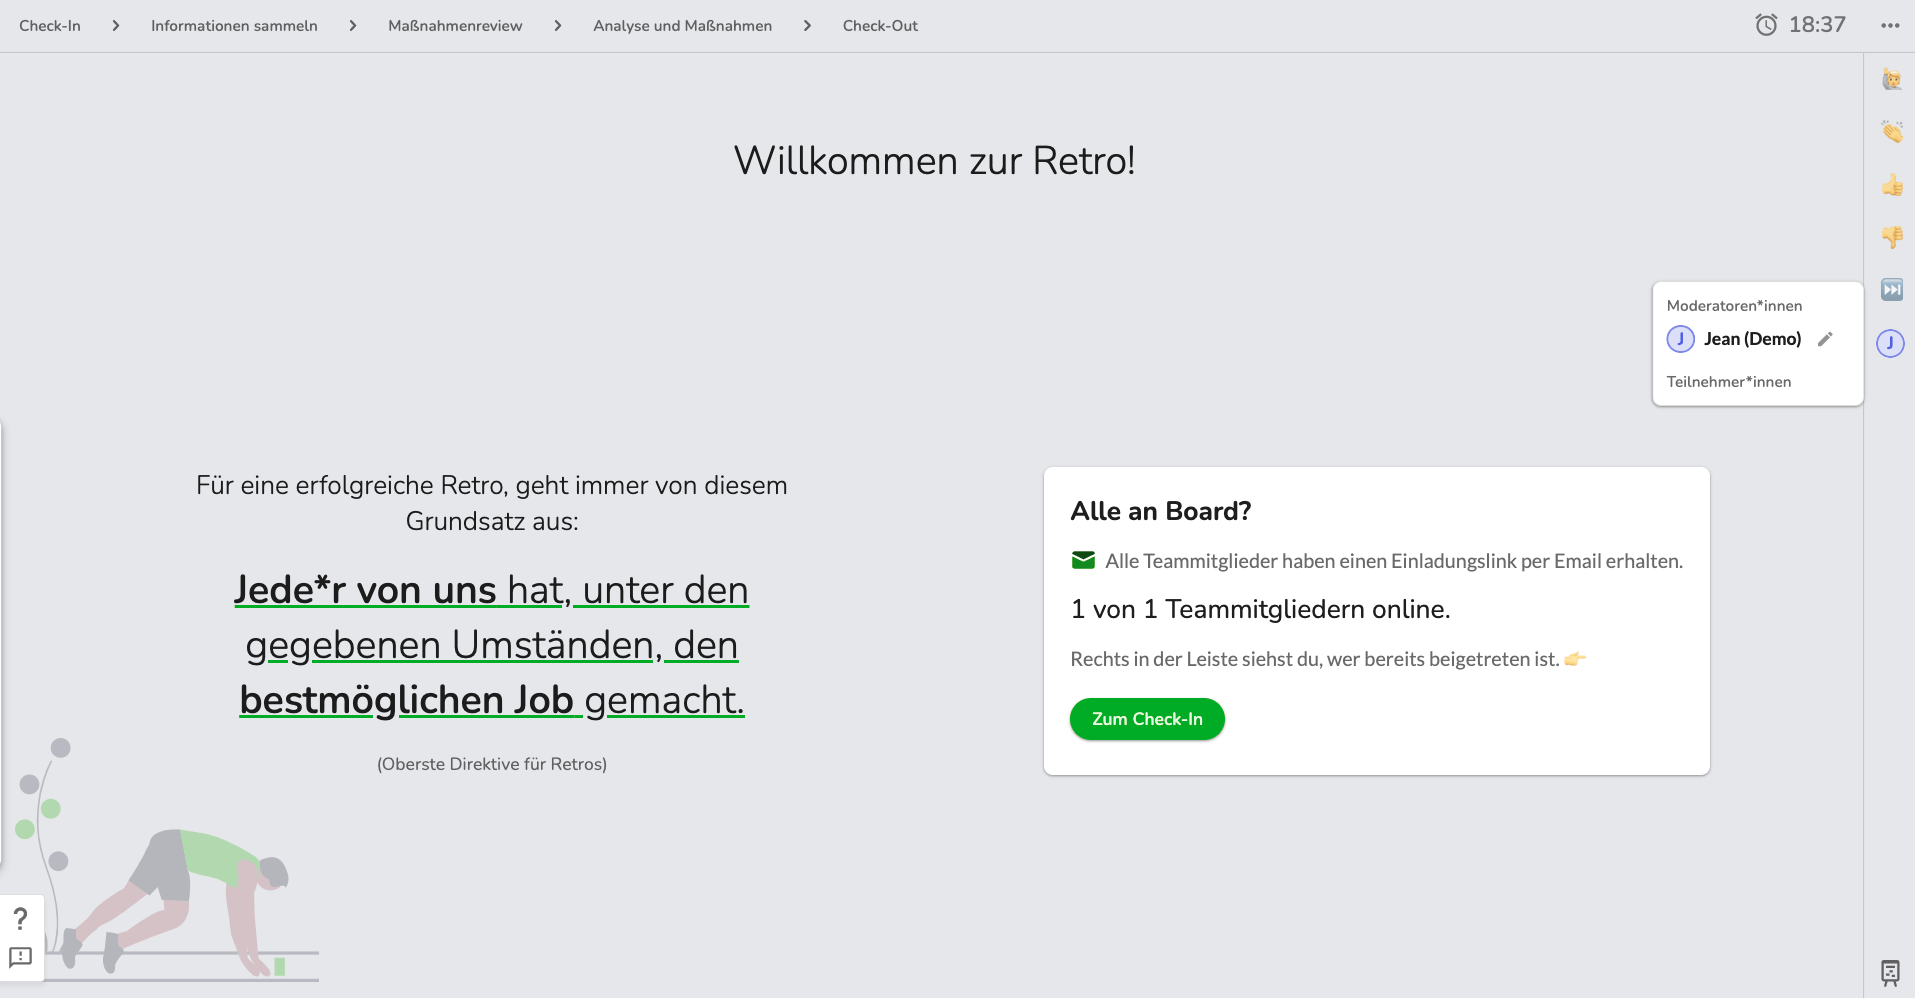
At the top
Right
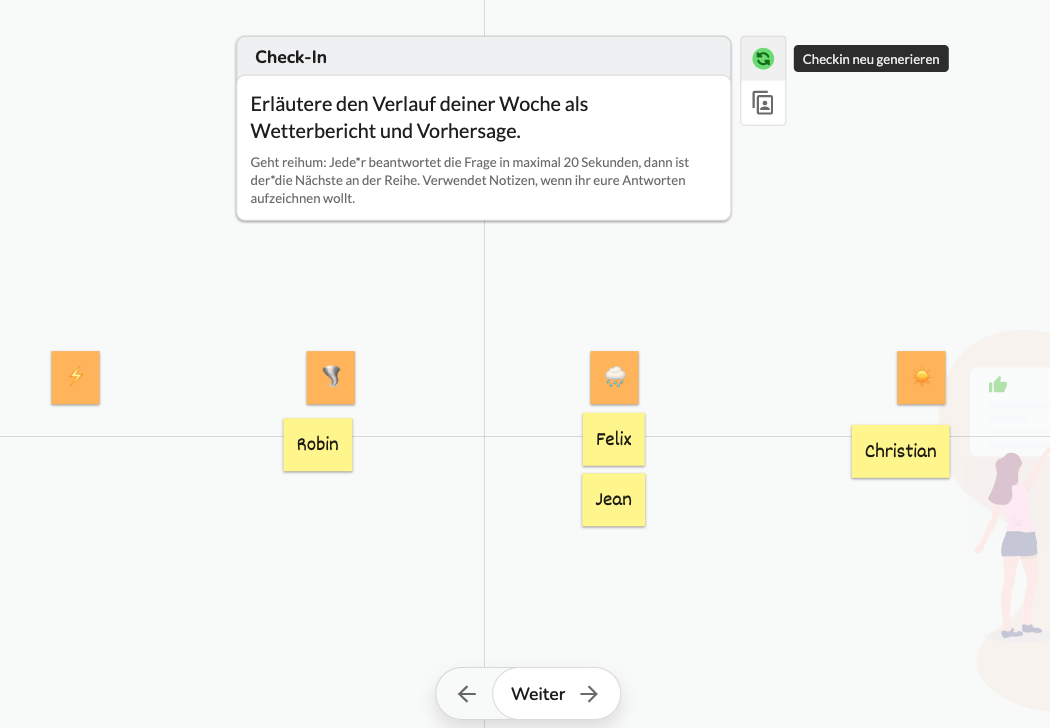
The check-in is supposed to involve all participants from the beginning and create an open discussion atmosphere. Each team member answers the check-in question in no more than 20 seconds and then passes the word on to the next team member.
Optionally, you can also do the check-in in writing on the whiteboard: Each team member can create a note by double-clicking on the whiteboard.
Once the check-in is complete, you can move on to the next item on the agenda by clicking on the "Next" button at the bottom.
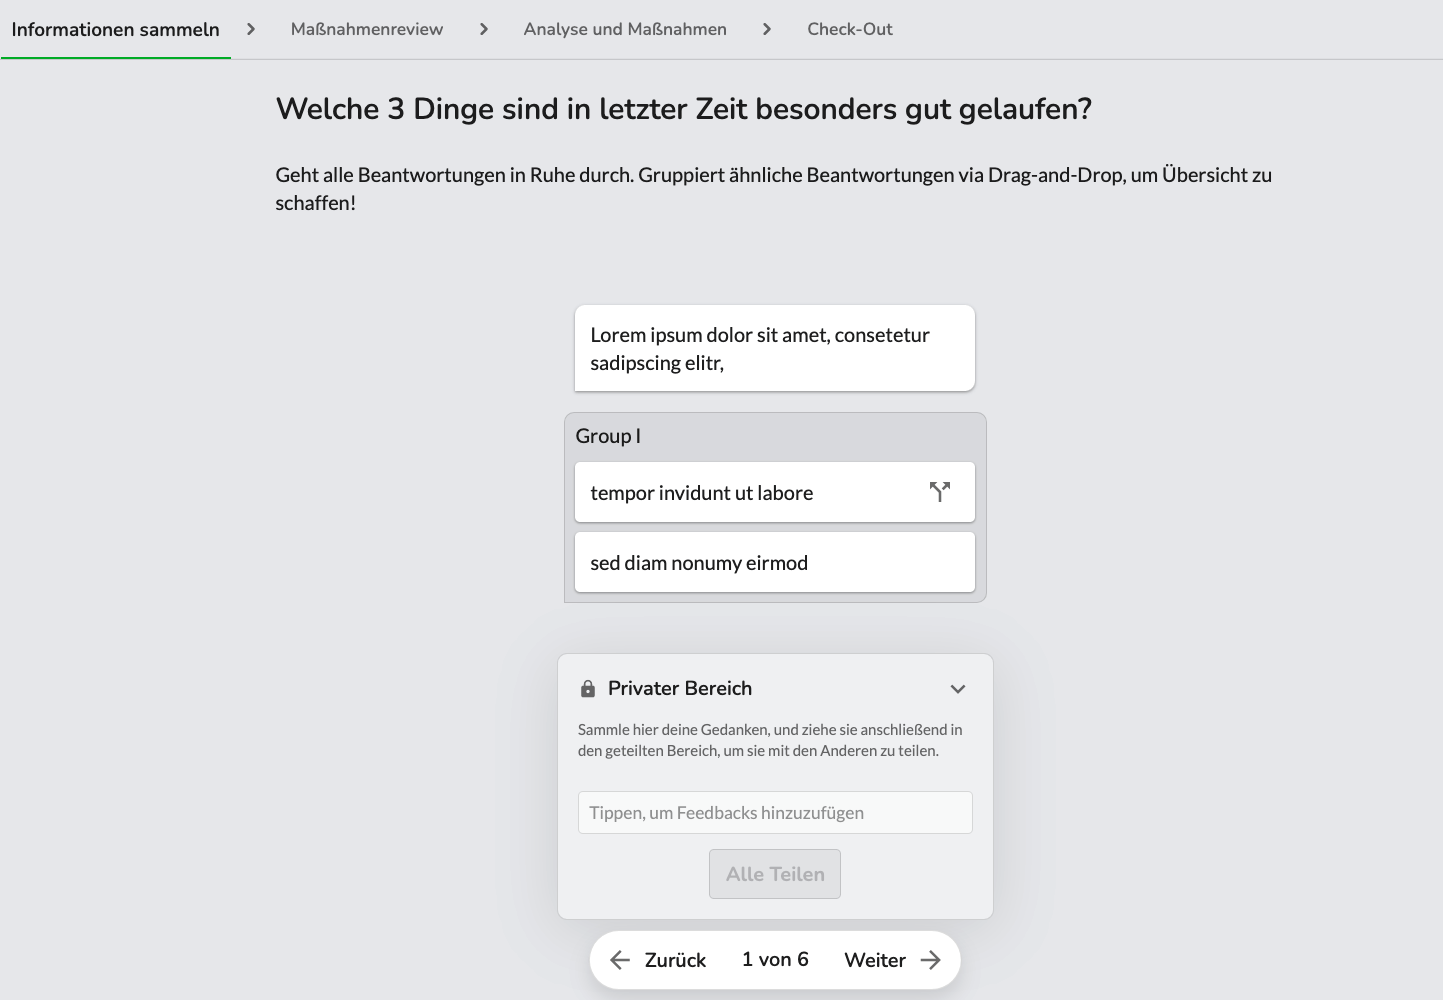
In this step, the survey results that have been collected in advance are displayed and discussed. The results of the scale questions are displayed first, followed by the results of the open questions. However, as a facilitator, you can change this order (before the retro).
During the retro you can still give feedback. Feedback can be entered in the field provided for this purpose, first for yourself and then shared with the other participants.
During the retro you can still give feedback. Feedback can be entered in the field provided for this purpose, first for yourself and then shared with the other participants.
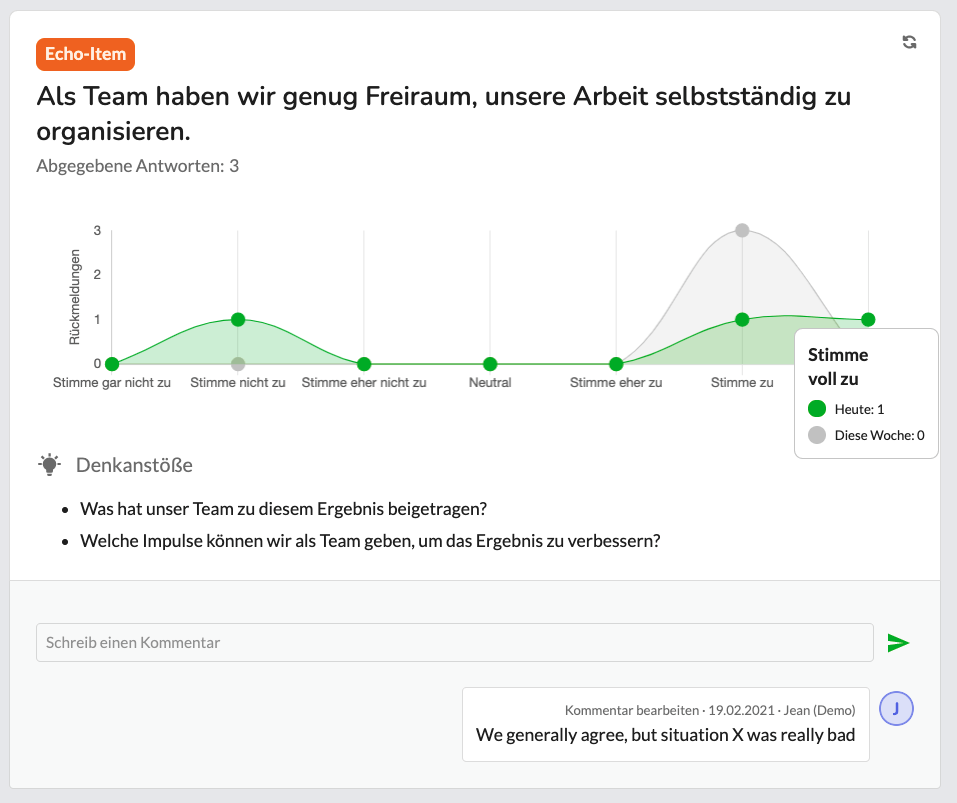
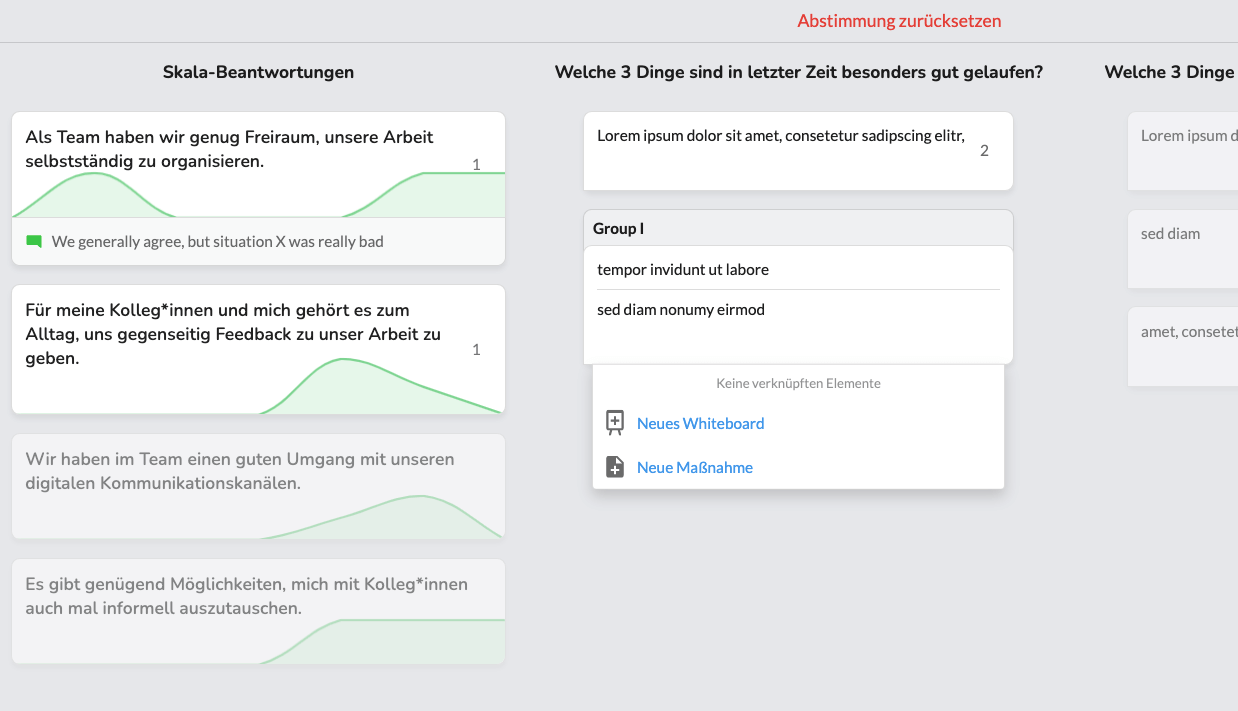
The results of the scale items are displayed over time if there are several measuring points. The results of the current survey are shown in green and the results of the last retro are shown in gray. You can use the slider at the top to highlight your own feedback. Of course, it remains anonymous for the other team members.
You can also add comments that can still be viewed after the retro.
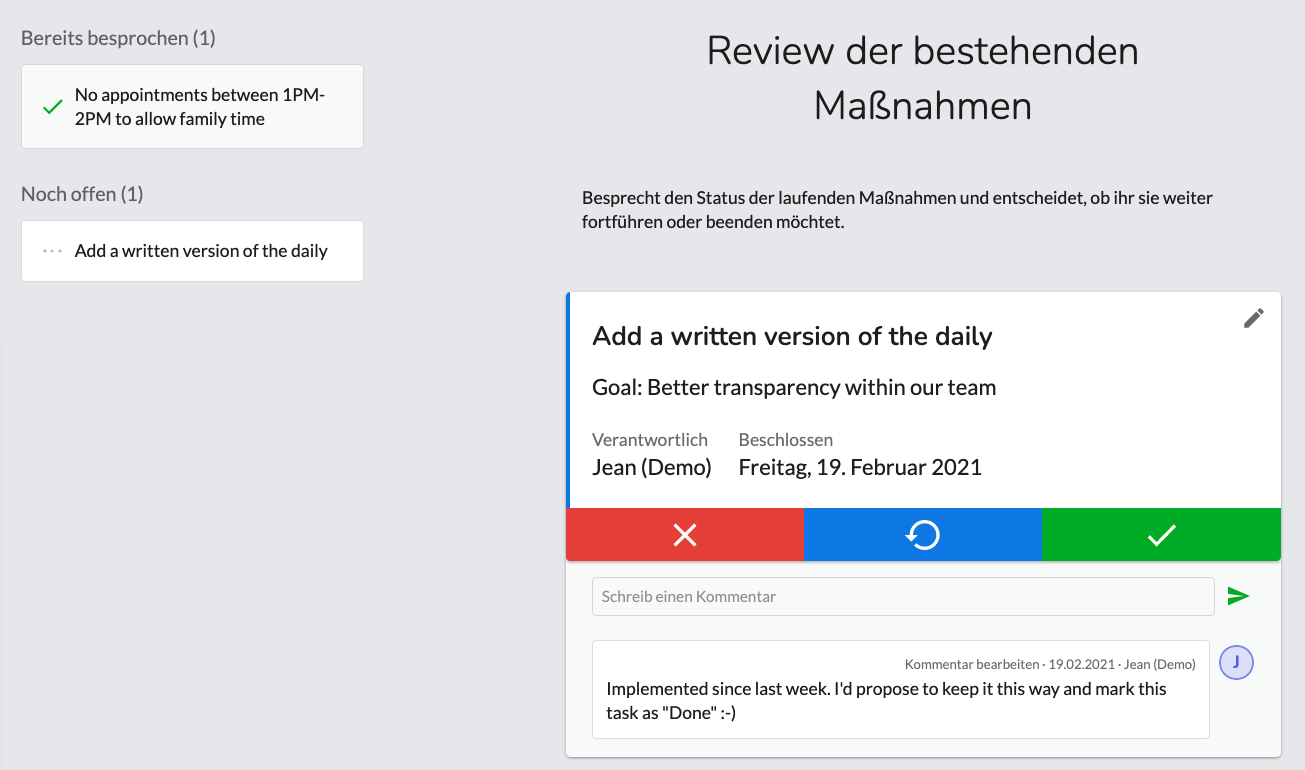
In this step, all action items that were defined or continued in the last retro are discussed. It can be decided whether an action item has been completed, whether it should still be continued or whether it should be discontinued (if the action item was not effective or is no longer useful in the meantime). Once this step is completed, the planning of new action items begins.
If you are doing your first retro, this step is skipped because no previous action items have been defined yet.
live voting
This is where you decide which topics are worth talking about again in detail and maybe even to discuss on a whiteboard. This ensures that action items are planned for the right topics.
As moderator, you decide how many votes can be given per person and can see how many votes have already been given - not all votes have to be given to close the voting. Once the live voting is closed, all responses are sorted by the number of votes and one can quickly see which topics are considered important by the team.
Analyse on the whiteboard & define action items
Depending on your needs, you can either directly write down an action item related to the feedback or open it on a whiteboard.
Action items can be added directly by clicking on the action item button in the lower right corner. It is also possible to create and link action items via the action item button on the feedback card directly (recommended).
When formulating action items, we recommend noting the first specific step in the title and the larger goal that is being pursued in the details.
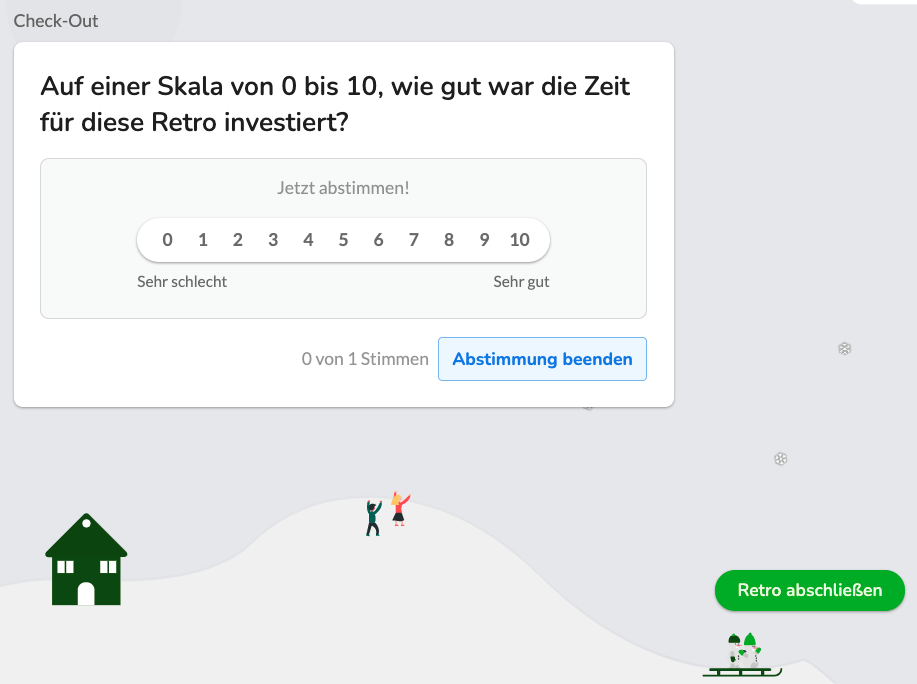
Finally, each participant has the opportunity to briefly rate the Retro from 0 to 10 using the ROTI question ("Return on Time Invest"). When all votes have been submitted, the voting can be closed by the moderator. The result will then be visible and you can share what went well in the Retro and what could be done better next time.
At the end, all participants will receive an email with all the results of the retro.
If a person has been assigned an action item, he or she will also receive a notification by email.
Retro Archive
In the left sidebar you (and your team members) will find the Retro Archive. Here you can view past retros including whiteboards. In addition to the retros, the development of the ROTI score is also displayed as a graph.
Team Health Dashboard
On the Team Health Dashboard you can find the results for the individual items as well as the average retro length.
If you are conducting retros with different teams, you can set up so-called Workspace Health Items, which are automatically asked in the surveys of all your teams. In this way, you can measure the cross-team development within your organization.
Workspace Health Items are listed in the Workspace Health item pool under "Item Rotation". Here you can select which items should be surveyed across teams. You can also set a rotation for the items.
If you set more than two Workspace Health Items, they will rotate in order to prevent the surveys from becoming too long. Over time, this will automatically fill up the Workspace Health dashboard.
If the selected items are not answered within the rotation period, you can send out a separate survey called Pulse Check.
The Workspace Health dashboard then shows you this cross-team development across completed actions, retros and Workspace Health items. The overview of results over time allows you to quickly see trends and developments.
All Echometer users can optionally generate a personal feedback link. To receive personal feedback from colleagues and customers, the link can simply be copied and shared. People without an Echometer account can also give feedback via the feedback links. The feedback given is always anonymous.
The feedback given can only be viewed personally by the user.
Personal feedback in Echometer is independent of team retrospectives and team surveys.
You want to roll out Echometer in your organization? Our checklist helps you to do that.
Even more tips & inspiration for your retros

Ever heard of this: retro fatigue? In hundreds of interviews we've conducted with Scrum Masters, Agile Coaches and other practitioners, retro fatigue was
All right, for the impatient among you who don't want the complete comparison of the 7 best retro software tools: You can directly download a free retro in
Online whiteboards or retro boards or maybe project management tools like Jira? There are now many ways to conduct digital retrospectives. In this article I will show you
Many Agile Coaches and Scrum Masters are looking for the best Agile Retrospective Questions – but which ones could they be? That of course depends on your own taste

Table of Contents There is a lot of talk in retrospectives – but does the team derive good actions from the discussion in the retro? The derivation

If you ask most managers about the "psychological safety" or "vision" (read more: Psychological Safety) of their agile software development teams, they agree that these things are
Maybe a look at ours will help FAQs or contact us via our contact form and let us know what you miss on this page.